
I hope you enjoyed my previous posts (1, 2, 3, 4). Now, let’s try the next three sketches! You can find these sketches on page 22 of the Stampin’ Up! 2024-2025 Annual Catalog and follow along below.

Materials Used
Here are the materials I used for these three cards.
- Sending Love:
- Splendid Autumn DSP
- Moody Mauve cardstock and ink
- Country Flowers stamps
- Any embossing folder you have on hand
- You’re the Best Part of My Day:
- Latte Love suite
- Pecan Pie and Lost Lagoon ink and cardstock
- Bursting with Happiness:
- Full of Life DSP
- Lemon Lime Twist cardstock
- Melon Mambo ink
- Market Goodness stamps
- Stylish Shapes dies
Detailed Instructions
Here are all the steps I took making these three sketches.
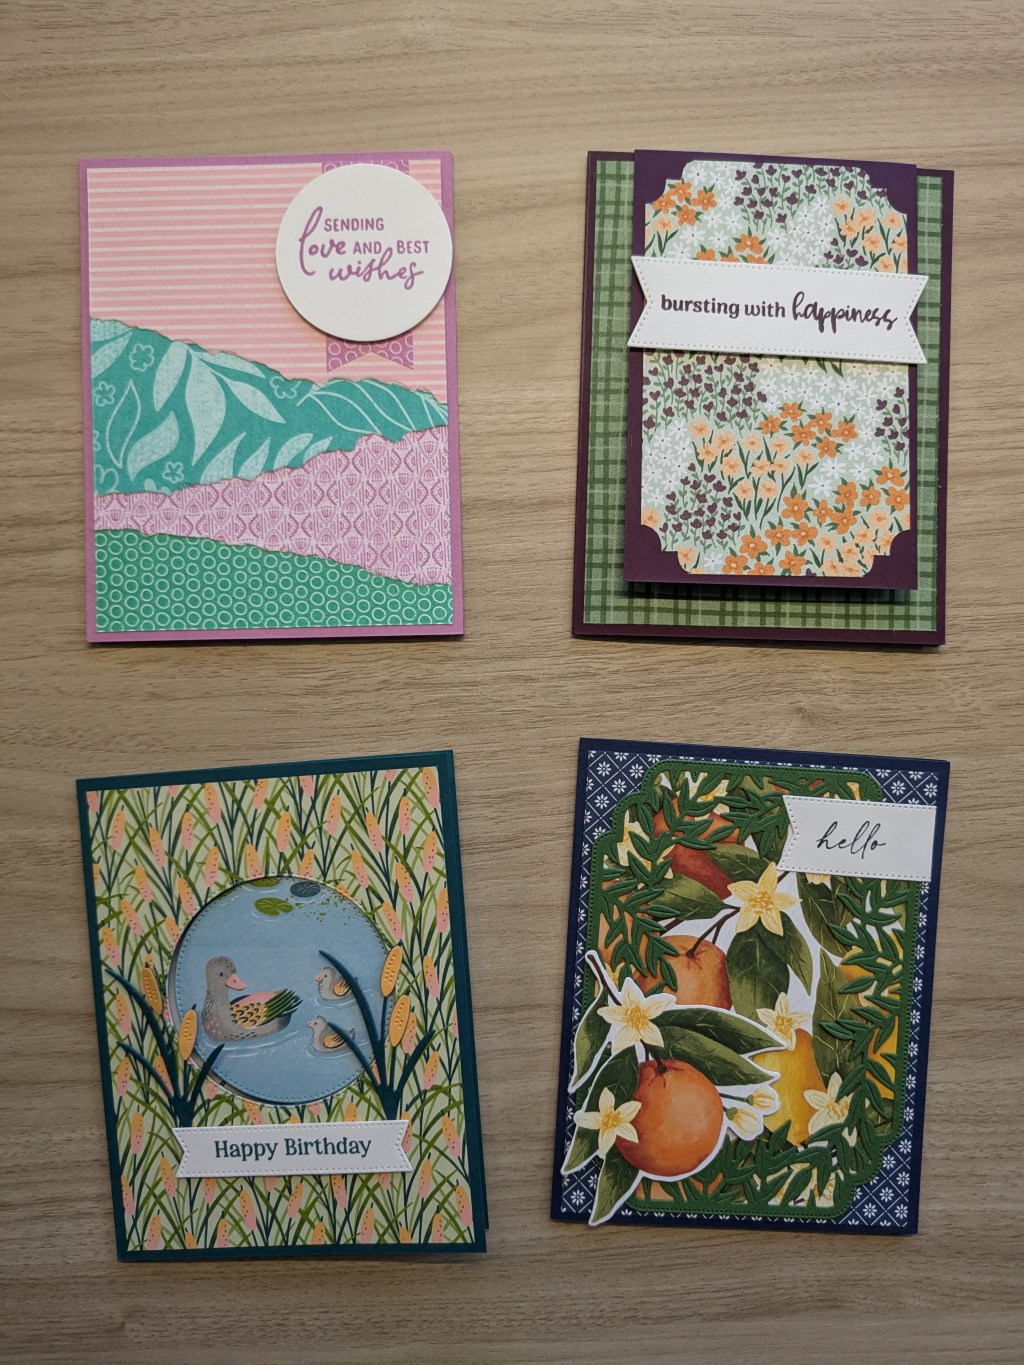
Sending Love

Measurements
- Card base: Moody Mauve cardstock, 8 1/2″ x 5 1/2″, scored at 4 1/4″
- Layer 1: Basic White cardstock, 4″ x 5 1/4″, embossed
- Layer 2: Splendid Autumn DSP, 1″ x 4 1/2″ (x3)
- Layer 3: Moody Mauve cardstock, 2 5/8″ x 3 5/8″
- Layer 4: Splendid Autumn DSP, 2 1/2″ x 3 1/2″
- Sentiment layer: Basic White card stock, 2″ x 5/8″
Instructions
At first, I thought this paper was too pretty to cover up with the big rectangle from this sketch, but then I decided to use the same paper there as well! I tried to match the background and foreground pictures as well as I could by cutting one inch off the right side of two identical pieces of 6″ x 6″ DSP. I then cut the strips and larger rectangle from the right side, trimming the top off the strips to get the right height. I trimmed an equal amount from the top and bottom of the large rectangle (1 1/4″ each) to center the image above the background strips.
I matted the foreground image with Moody Mauve cardstock, leaving just a 1/16″ border. I then adhered the sentiment to this layer and popped the whole piece up with dimensionals on the front of the card.
Best Part of My Day

Measurements
- Card base: Pecan Pie cardstock, 8 1/2″ x 5 1/2″, scored at 4 1/4″
- Layer 1 strips: Latte Love DSP (different patterns), 4″ x 1 1/4″ (x3)
- Layer 1 banner: Lost Lagoon cardstock, die cut
- Sentiment Layer: Basic White cardstock, die cut
Instructions
This is one of my favorite paper sets, so I used it here to showcase as much as possible. The strips are all equal size and the Lost Lagoon banner was cut using the Stylish Shapes die set. The entire first layer was adhered to the card base with liquid adhesive.
I stamped the coffee cup image and sentiment from the Latte Love stamp set and die cut it using the corresponding die. I popped this on top of the banner using dimensionals and voila!
Bursting with Happiness

Materials
- Card base: Lemon Lime Twist cardstock, 8 1/2″ x 5 1/2″, scored at 4 1/4″
- Layers 1 and 2: Full of Life DSP, 4″ x 5 1/4″
- Sentiment layer: Basic White card stock, die cut
Instructions
I loved playing around with this one, using negative space instead of raised circles for the top layer. To achieve this effect, I started with the tie-dye patterned paper from Full of Life and adhered it directly to the card base. Then I popped up the top layer to create depth and visual interest.
I used the smallest circle from the Stylish Shapes dies to cut holes in the top layer, spacing them out horizontally at one, two, and three inches, anchoring on the center of each circle, and vertically at 9/16″, 1 5/8″, 3 5/8″, and 4 11/16″. It actually took me several tries to get this right, but it was worth it!
The sentiment is from the Market Goodness stamp set, die cut using the large banner from the Stylish Shapes dies. I popped this up between the second and third rows of circles where there is some extra space.
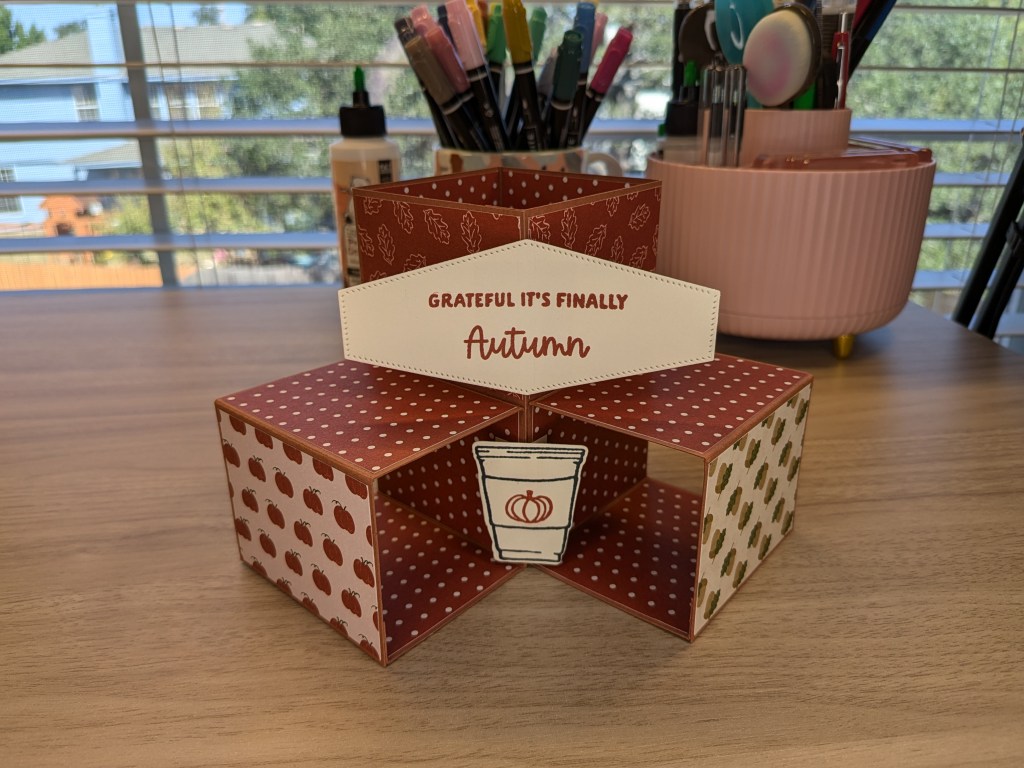
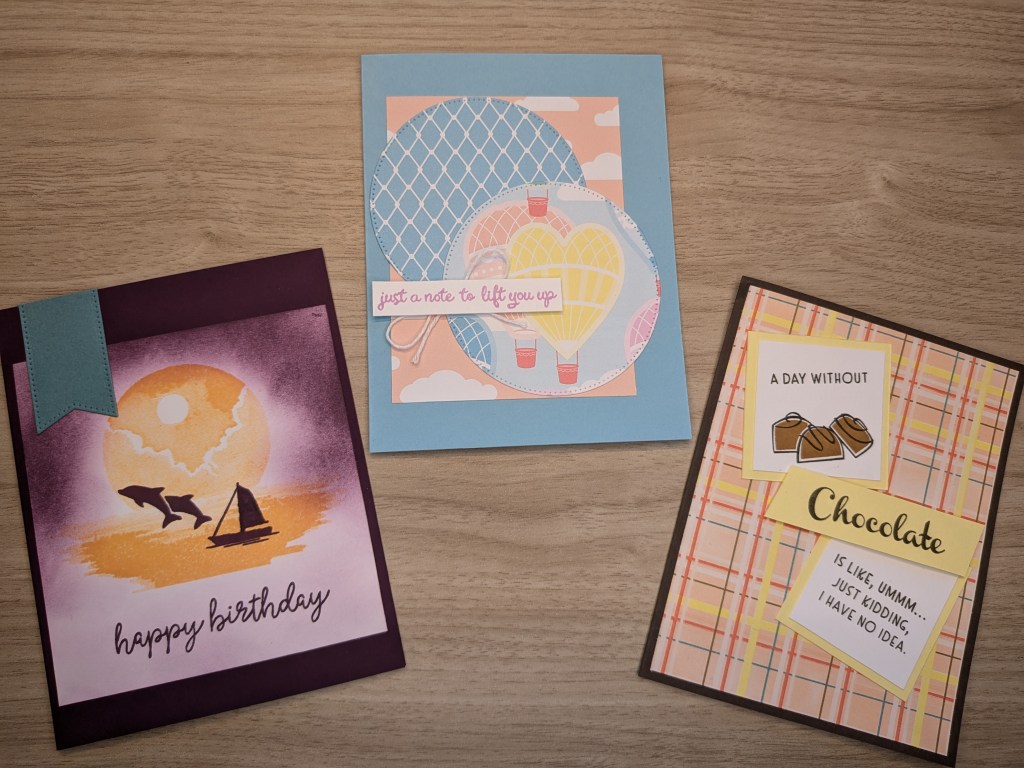
What’s Next
Just three more cards to go! Stay tuned for hot air balloons, beach vibes, and more more coffee as I finish out the sketches from the 2024-2025 Stampin’ Up Annual Catalog.
By the way, if you want to preserve the cards in this post or others as a gift set, check out my Country Lace Card Set post for instructions to make a coordinating card box!
Thanks for stopping by. See you next time!


Leave a comment