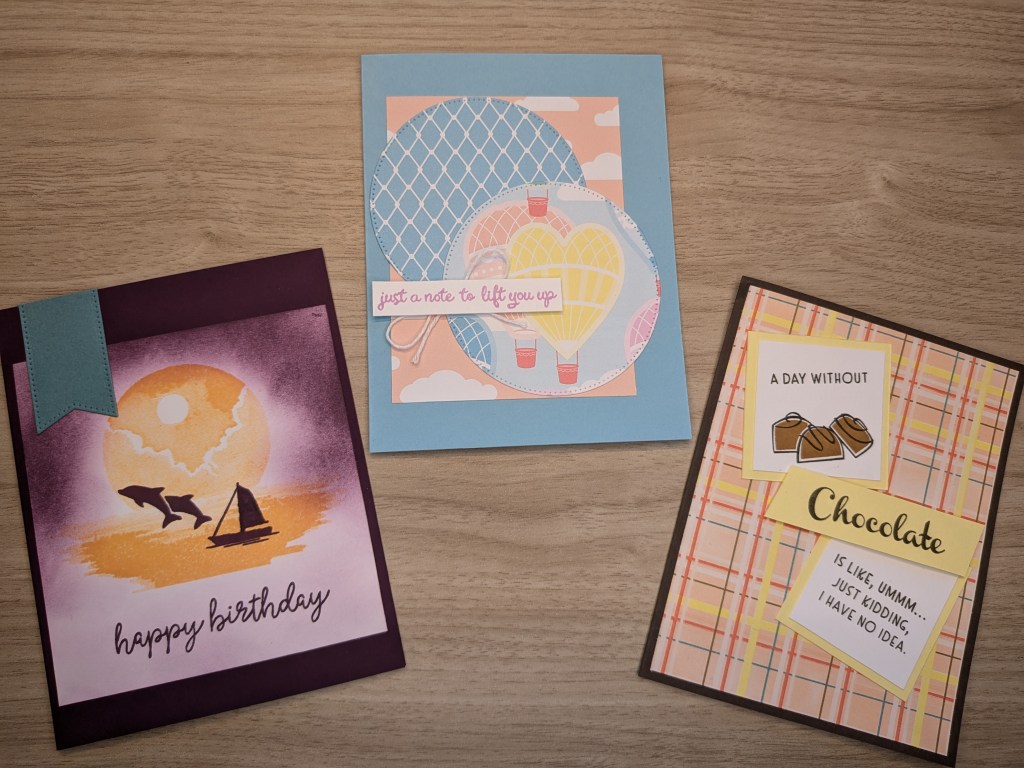
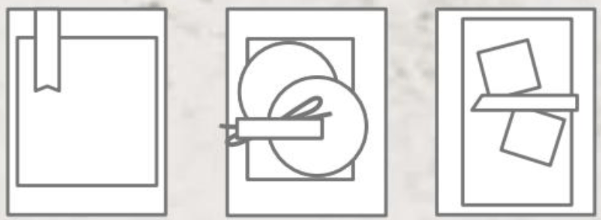
I hope you enjoyed my previous posts (1, 2, 3, 4, 5). Now, let’s try the final three sketches! You can find these sketches on page 22 of the Stampin’ Up! 2024-2025 Annual Catalog and follow along below.
Materials Used
Here are the materials I used for these three cards.
- Happy Birthday:
- Blackberry Bliss and Lost Lagoon cardstock
- Blackberry Bliss and Peach Pie ink
- Under the Moon and Beach Day stamps
- Stylish Shapes dies
- Blending brush
- Just a Note to Lift You Up:
- Hot Air Balloon DSP and stamps
- Balmy Blue cardstock
- Fresh Freesia ink
- Stylish Shapes dies
- A Day Without Chocolate:
- Latte Love DSP
- Early Espresso and Lemon Lolly cardstock
- Early Espresso ink
- Nothing’s Better Than stamps
Detailed Instructions
Here are all the steps I took making these three sketches.
Happy Birthday

Measurements
- Card base: Blackberry Bliss cardstock, 8 1/2″ x 5 1/2″, scored at 4 1/4″
- Layer 1: Basic White cardstock, 4″ x 4 1/4″
- Scrap for banner
Instructions
I like this one because it was my first attempt at using a blending brush, and I think it turned out pretty good! I started by stamping the moon and reflection images in Peach Pie on the Basic White layer. While that was drying, I used a blending brush to shade around the “light” with Blackberry Bliss ink. One thing I learned is that the first stroke or two after inking up will be really heavy; so, unless you want that effect, brush off on a bit of scrap before brushing onto your piece. Anyway, I started dark at the top and faded to light at the bottom, leaving a radiant (light) ring around the moon image.
To finish things off, I cut a large banner of Lost Lagoon in half (die cut from Stylish Shapes) and adhered that in what I think of as the “bookmark” position. I also stamped a boat, dolphins, and the sentiment (which came from the Beach Day set) onto the moon panel. While I had the Beach Day set out, I used the “enjoy today” sentiment and beach chair image on the interior.
Just a Note to Lift You Up

Measurements
- Card base: Balmy Blue cardstock, 8 1/2″ x 5 1/2″, scored at 4 1/4″
- Layer 1: Hot Air Balloons DSP, 3 1/4″ x 4 1/4″
- Circle Layers: Hot Air Balloons DSP (two patterns), die cut
- Sentiment Layer: Basic White cardstock, scrap
Instructions
I layered three different DSP patterns for this one with clouds in the background and balloons in the fore. Since the sketch calls for circles, I took it literally and used my trusty Stylish Shapes dies to cut out the balloons. I love that you can die cut the balloons from the DSP, too, so I also did that and put a few on the interior.
The sentiment is on a scrap of Basic White, which I hand trimmed. It’s popped up on top of a small bow, and I found that Mini Dimensionals worked well for the size of both the scrap and the knot. When I tried using ribbon instead of twine, the knot was way too big, even for full sized Dimensionals.
A Day Without Chocolate
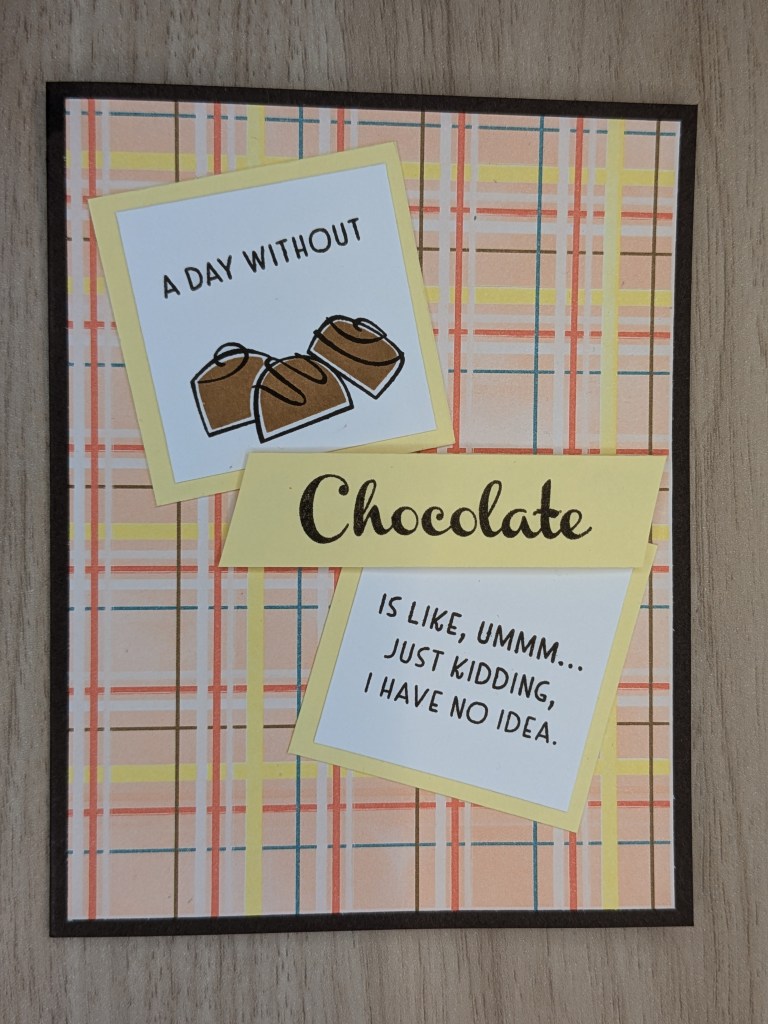
Materials
- Card base: Early Espresso cardstock, 8 1/2″ x 5 1/2″, scored at 4 1/4″
- Layers 1: Latte Love DSP, 4″ x 5 1/4″
- Sentiment layers 1-2: Basic White cardstock, 1 3/4″ square, matted with Lemon Lolly cardstock, 2″ square
- Sentiment layer 3: Lemon Lolly cardstock, scrap (approx. 3″ x 3/4″)
Instructions
The Nothing’s Better Than stamp set is one of my favorites! I especially love pairing this with the Latte Love suite, which I’ve done here. I only used one piece of DSP here, but I’ve also been known to mix these sentiments, stamps, and even dies!
For the sentiment layers, I used Lemon Lolly mattes (2″ square) a quarter of an inch bigger than the Basic White squares (1 3/4″ square). The “Chocolate” sentiment on the very top, then, is a 3″ x 3/4″ rectangle with the edges trimmed on a diagonal. Only that layer is popped up with Dimensionals.
What’s Next
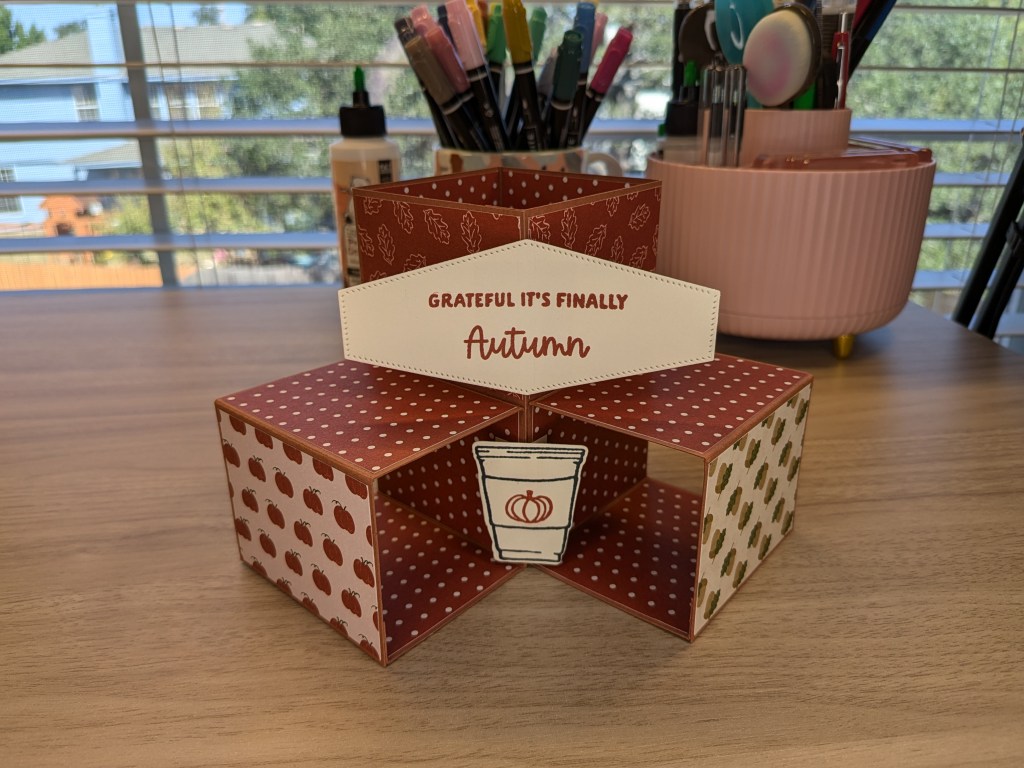
That’s it! This concludes my sketch series, but never fear! I’ll be back with more ideas. Is that a hint of Autumn in the air?
Thanks for stopping by. See you next time!


Leave a comment